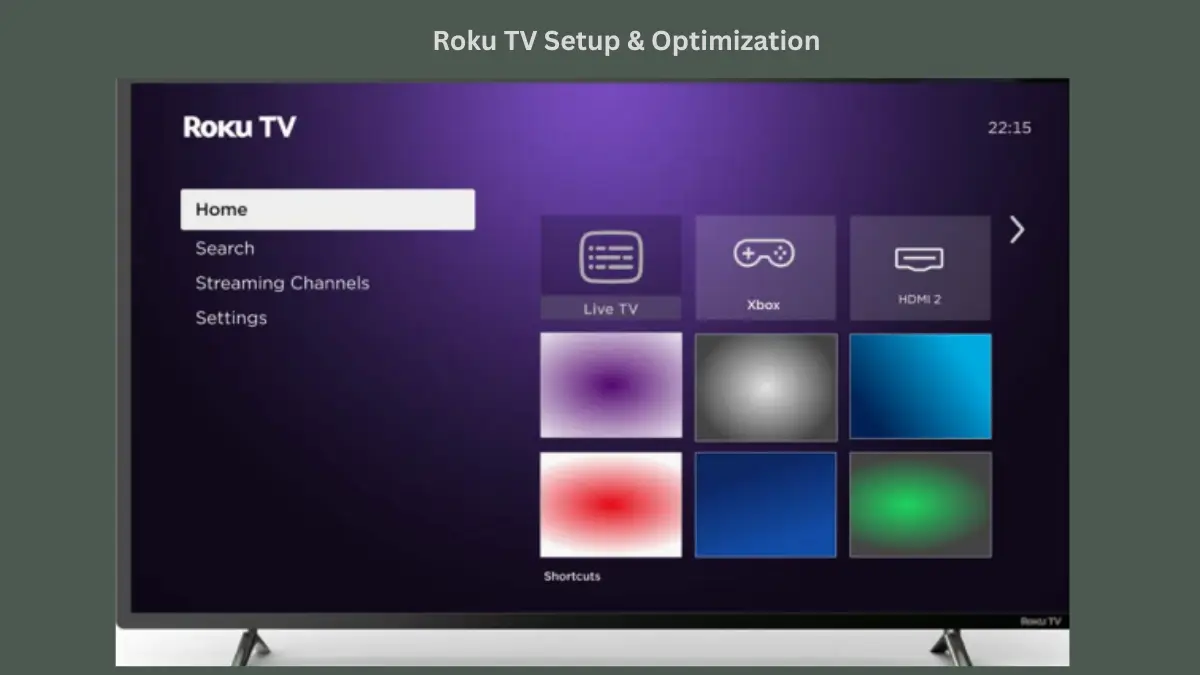
Roku TV setup doesn’t have to feel like rocket science. You’re about to turn that black rectangle into your entertainment command center – and honestly, it’s easier than assembling IKEA furniture.
Whether you’re ditching cable or upgrading from an older streaming device, nailing your Roku TV setup properly makes all the difference. Let’s walk through the essentials without the tech jargon. While this guide focuses on Roku’s platform, users comparing streaming options can also explore our detailed Android TV setup guide to understand different smart TV ecosystems.
Table of Contents
Physical Setup
Power and HDMI connections come first. Here’s what you need to handle:
• Connect your Roku to an available HDMI port (Streaming Stick+ plugs directly in)
• Use an HDMI extender cable if ports are tight
• Ensure power connections are secure – loose cables cause problems later
• Position device with good airflow to prevent overheating
• Keep infrared remotes’ line-of-sight clear to the device
Network Connection
Wi-Fi setup is straightforward, but get it right the first time. Follow these steps:
• Navigate to network settings and select your Wi-Fi network
• Double-check your password – most common setup mistake
• Consider wired ethernet for 4K streaming and heavy usage
• Let software updates complete without powering down
• Wait for the restart cycle to finish before proceeding
Account Setup
Creating your Roku account links everything together. Here’s what to expect:
• Choose between new account creation or linking existing accounts
• Provide valid email address for verification
• Use QR code scanning for faster mobile setup
• Complete activation through Roku website or mobile app
• Add payment methods for seamless subscription management (optional)
Remember: legitimate Roku activation never costs money upfront. If someone’s asking for activation fees, you’re dealing with a scam, not the real deal.
Remote Pairing
Basic Remotes
Standard infrared remotes pair automatically with your device. Just point and click – no extra steps needed. Keep a clear line of sight between remote and device for best results.
Voice Remotes
Wi-Fi remotes with voice features need manual pairing. Find the pairing button (usually in the battery compartment) and hold it until you see a green flashing light. The pairing process takes about 30 seconds once initiated.
Picture Optimization
Your TV’s picture settings make or break the viewing experience. Start with these adjustments:
• Choose preset modes based on your room (vivid for bright rooms, cinema for dark spaces)
• Adjust backlight intensity to match your lighting conditions
• Set contrast for deeper blacks and better detail
• Use warm color temperature for more natural skin tones
• Enable game mode for reduced input lag during gaming sessions
• Calibrate settings under typical viewing conditions for consistency
Smart Features Integration
Your Roku TV can be the hub for other devices too. During setup, it’ll detect connected gaming consoles and cable boxes, making input switching seamless.
For a complete smart home setup, consider how your Roku fits with other devices. If you’re exploring smart TV options beyond Roku, check out our guides on Android TV setup or turning any TV into a smart TV.
Quick Tips
Channel management during setup saves time later. Here are some pro moves:
• Add essential apps immediately or skip and customize later
• Ignore suggested channels if they don’t match your interests
• Set up parental controls during initial setup (easier than retrofitting)
• Test remote functionality with different content types
• Check network stability with a quick streaming test
For households juggling multiple streaming devices, our Fire TV Stick guide covers another popular option, while Samsung and LG users have their own optimization paths.
Wrapping Up
Getting your Roku TV set up right from the start saves headaches down the road. Focus on solid network connections, proper picture calibration, and you’ll be streaming like a pro in under an hour.
The beauty of Roku’s system is its simplicity – once configured, it just works. Now grab some snacks and enjoy that first binge-watching session on your perfectly optimized setup.