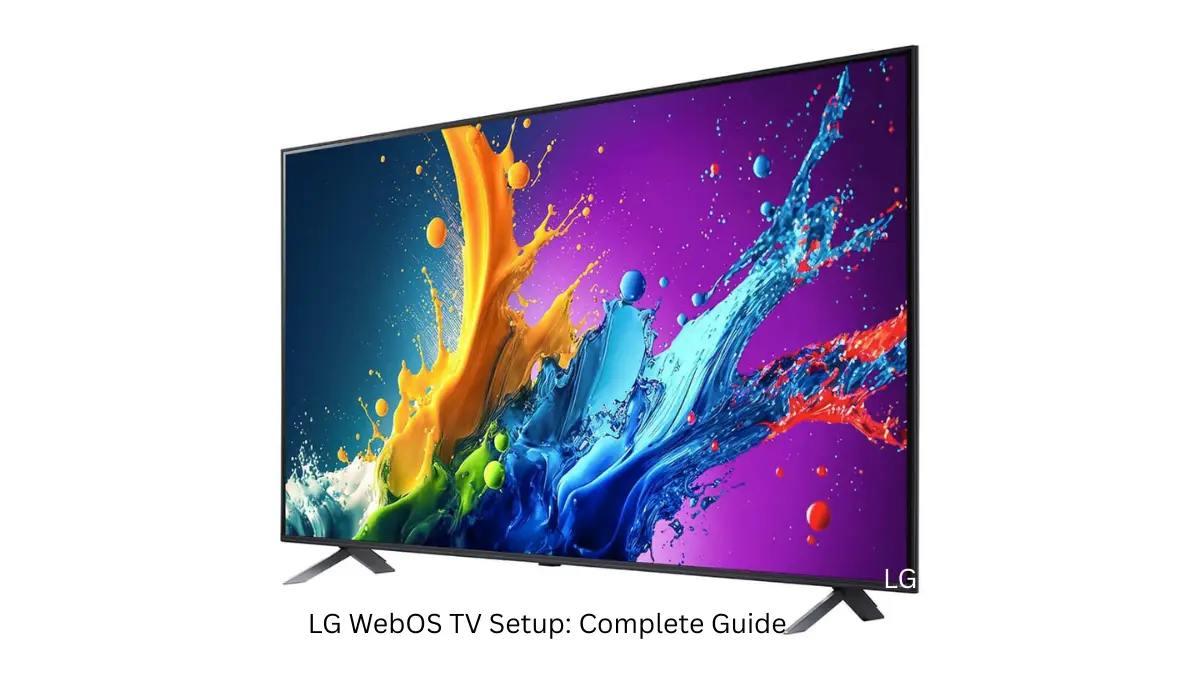
Getting your new LG WebOS TV dialed in shouldn’t feel like rocket science. Whether you’re upgrading from a basic set or diving into the smart TV world for the first time, this LG WebOS TV setup guide cuts through the noise and gets you streaming, gaming, and flexing those smart features in no time. No corporate jargon – just the real talk you need to make your TV the entertainment centerpiece it was meant to be.
Table of Contents
Unboxing Like a Pro
First things first – don’t rush the unboxing. That gorgeous display didn’t survive shipping just to get dinged during setup. Here’s how to do it right:
• Carefully unbox your LG TV, treating the screen like it owes you money (in a good way)
• Keep those styrofoam corner protectors until you’re 100% sure about placement
• Place your TV on a rock-solid surface or mount it properly using the right hardware
• Secure the stand with provided screws – they’re not suggestions, they’re requirements
• Connect HDMI devices now – gaming consoles, sound systems, streaming boxes
• Older gear can still party with composite connections if available
Pro Tip: Wobbly setups are the enemy of good vibes. Your TV’s not going anywhere, and neither should your peace of mind.
Initial Setup
Hit that power button and let’s get this show started. Here’s your step-by-step walkthrough:
• Power on using the TV button or remote
• Magic Remote pairing happens with a simple OK button press
• Select your preferred language and country/location
• Choose setup method: LG ThinQ app or remote control
• Review and accept terms and conditions
Pro Tip: The ThinQ app route is smoother for Wi-Fi setup, but either method works fine. Pick your spot on the map carefully – it affects content recommendations and local services.
This streamlined approach differs from other platforms like Android TV, which has its own setup process detailed in our Android TV configuration guide.
Network Connection
Getting online is where smart TVs separate the pros from the amateurs:
• Select your Wi-Fi network from the available list
• Enter your network password carefully
• Consider Ethernet connection for better stability
• Test the connection speed if available
• Check signal strength for optimal performance
Pro Tip: Ethernet beats Wi-Fi every time for stability. If you’ve got a cable nearby, use it. Your streaming sessions will thank you later. Don’t skip the terms completely – at least skim the privacy practices.
Device Setup
Your TV becomes a digital concierge during this phase:
• Connect gaming consoles, cable boxes, and sound systems
• Let the TV auto-detect connected devices
• Configure each input source properly
• Set installation type (wall-mounted or stand)
• Enable device-specific settings and controls
Pro Tip: Installation type affects sound optimization algorithms. Tell your TV the truth about its mounting situation – every detail counts for that premium experience.
Smart Features
Time to unlock the AI-powered goodness:
• Enable AI Picture Pro for enhanced image processing
• Turn on AI Sound Pro for optimized audio
• Configure Always Ready Mode for voice recognition
• Set up ambient display preferences
• Test voice commands and smart features
Pro Tip: AI Picture Pro and AI Sound Pro aren’t marketing buzzwords – they’re legit upgrades. Always Ready Mode keeps features active when “off,” but consider the privacy trade-off.
Account and Apps
Time to unlock the full smart TV potential:
• Sign into LG Account via ThinQ app, browser, or TV remote
• Access the LG Content Store from home screen
• Download essential apps: Netflix, YouTube, Disney+, etc.
• Customize home screen layout for quick access
• Organize apps by usage frequency
Pro Tip: Unlike Android TV setups, webOS keeps things streamlined. Put your most-used apps front and center – your future self will appreciate not hunting through menus.
Smart Home Integration
Ready to go full smart home? Here’s the advanced route:
• Enable Developer Mode in settings
• Install webOS Studio extension in Visual Studio Code
• Enable LG Connect Apps in Network settings
• Add TV to Home Assistant using IP address (port 9922)
• Set up SSH keys for secure communication
• Configure automations for turning on/off and launching apps
Pro Tip: Unlike the complexity of connecting Samsung devices or Fire TV Stick hubs, webOS keeps smart home integration straightforward.
Final Optimization
Get everything dialed in for the perfect viewing experience:
• Adjust picture settings: brightness, color temperature, contrast
• Configure sound modes for your room’s acoustics
• Set up individual user profiles for personalized recommendations
• Enable parental controls if needed
• Update firmware when notifications appear
• Test all features and connections
Pro Tip: Don’t accept factory defaults as gospel. Your room’s lighting and acoustics are unique, and firmware updates aren’t just suggestions – they keep your TV secure and smooth.
Setup Checklist
| Step | Action | Pro Tip |
|---|---|---|
| Physical Setup | Secure stand/mount, connect devices | Keep protection until placement is final |
| Power On | Language, location, remote pairing | Use ThinQ app for easier setup |
| Network | Wi-Fi/Ethernet connection | Ethernet beats Wi-Fi for stability |
| Accounts | LG Account sign-in | Required for full smart features |
| Apps | Install streaming services | Customize home screen layout |
| Optimization | Picture/sound settings, profiles | Update firmware when prompted |
Troubleshooting
Wi-Fi problems? Check signal strength and password accuracy. HDMI device issues? Verify cables and ensure devices are powered on during setup. App crashes? Clear cache or reinstall from the Content Store.
When in doubt, LG’s support site has model-specific solutions. Don’t suffer in silence – help is available.
Your LG WebOS TV setup doesn’t have to be a headache. Follow this guide, take your time with each step, and you’ll have a entertainment powerhouse that rivals any premium setup. The smart features, app ecosystem, and integration options make webOS one of the cleanest smart TV experiences available. Now go enjoy that crystal-clear picture and surround sound – you’ve earned it.


