
The recent launch of Windows 11 has excited millions of users to switch from Windows 10 to Windows 11. There are a few hardware limitations for this upgrade however if your device is compatible, you are surely going to enjoy the new interface. With the beta version of Windows 11, users faced a few challenges that are gradually rectified with the recent updates.
If you have already installed Windows 11, there are a few checkpoints that you need to ensure that you meet for swift Windows performance. Don’t forget to cover these things to do after installing Windows 11. We have covered these checkpoints on the basis of prioritization for tasks for smooth functionality and enjoying the most recent features.
Install Windows Updates
Whatever source you have used to upgrade to Windows 11 can be outdated within a week. The first and foremost thing is to check for Windows Updates. This will download and install the most recent updates to incorporate new features, security updates, patches, bug fixes and more.
Step 1. Press (Win + I) to get into Windows Settings.
Step 2. Scroll down the list and click on the Updates & Security option.
Step 3. Click on the Check for Updates option on the right-hand side page.
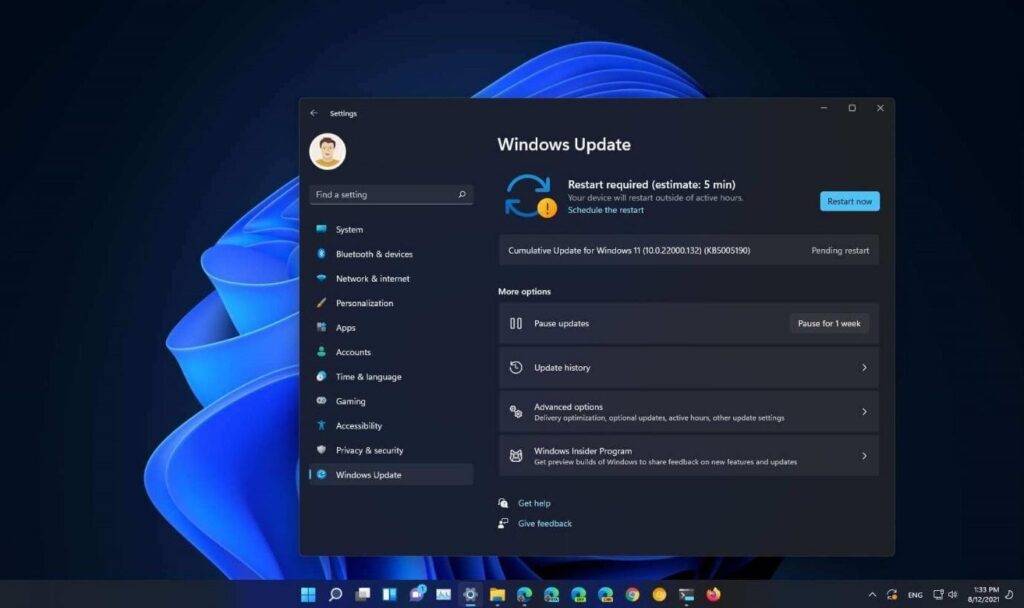
Step 4. It will scan for new updates and install them on the PC. If there are any critical updates installed, it will ask you to restart the computer to finish installing new updates.
Sign in to Your Microsoft Account
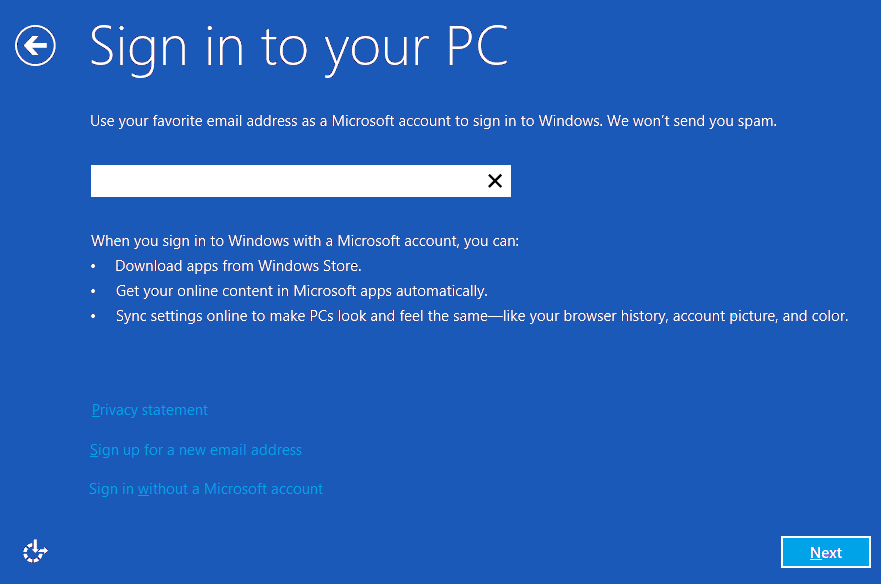
If you have a Microsoft account and purchased official licenses of MS Office and other products, it is necessary to sign in to your Microsoft account. Signing in to your Microsoft account will also open multiple sign-in options for Windows. You can go to Settings -> Account -> Sign-in options to configure different user login options like a fingerprint, keypad, password, picture or pattern.
Setup Default Apps
There are some default Windows settings that need to be configured properly.
Step 1. Click on the Start button and type Default in the Search Bar.
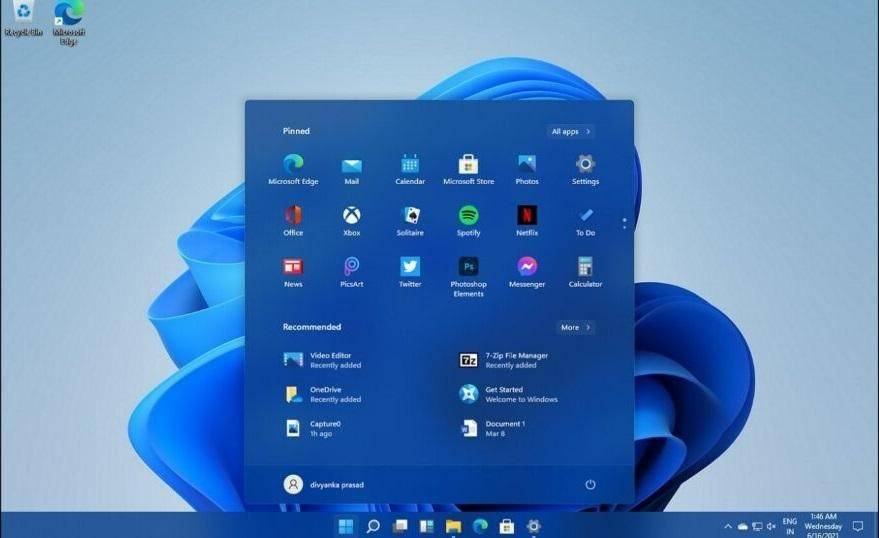
Step 2. Click on the Default Apps option in the search results.
Step 3. Here you get an option to set up your default apps like your Email client, Maps, Music Player, Photo Viewer, Video Player, Web Browser, or other default applications for different types of files.
Check Your Antivirus
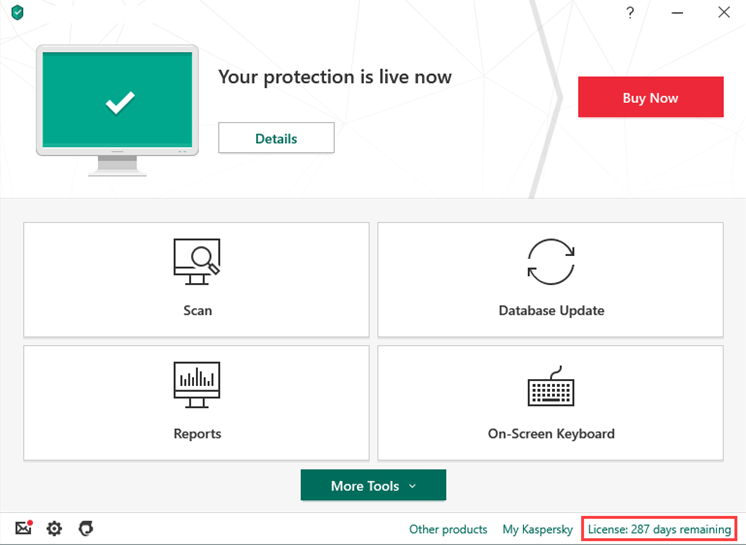
This is probably one of the most important things to do after installing Windows 11. You need to ensure that your Antivirus is activated again and secure your PC. If required, update your antivirus feeds to ensure that the antivirus is aware of the latest threats specially designed for Windows 11 operating system. If you are using Windows Defender, ensure that it is turned ON and actively protecting against the latest Malware and threats.
Configure Power Settings
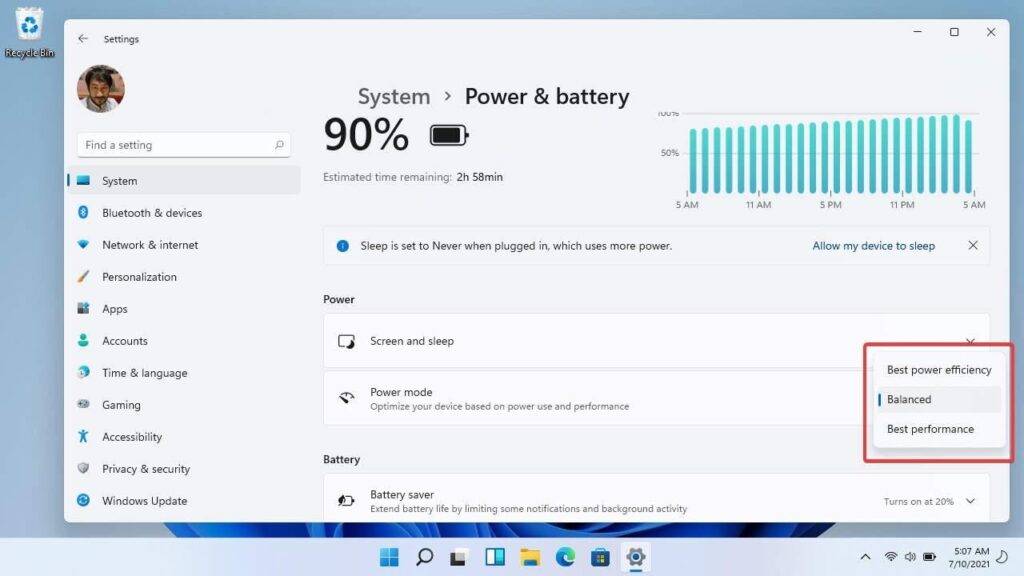
After installing Windows 11, the power settings options will get back to the default settings. It is necessary to configure your desired power settings to work with power or on battery. Configure the power settings for the best performance and also set up the screen saver, sleep time, battery saver mode, and other settings. Go to Windows Settings -> System -> Power & Battery section to configure the power settings.
Install Device Drivers
After installing Windows 11, it is necessary to restart the computer and check for the device drivers. Ensure that all the devices are functioning properly and there is no driver conflict.
Step 1. Press (Win + R) to open the Run command prompt.
Step 2. Type devmgmt.msc and hit the Enter key. This will open the Device Manager window.
Step 3. Check all the device icons carefully. If there is any driver conflict, it will be highlighted with a yellow exclamation mark.
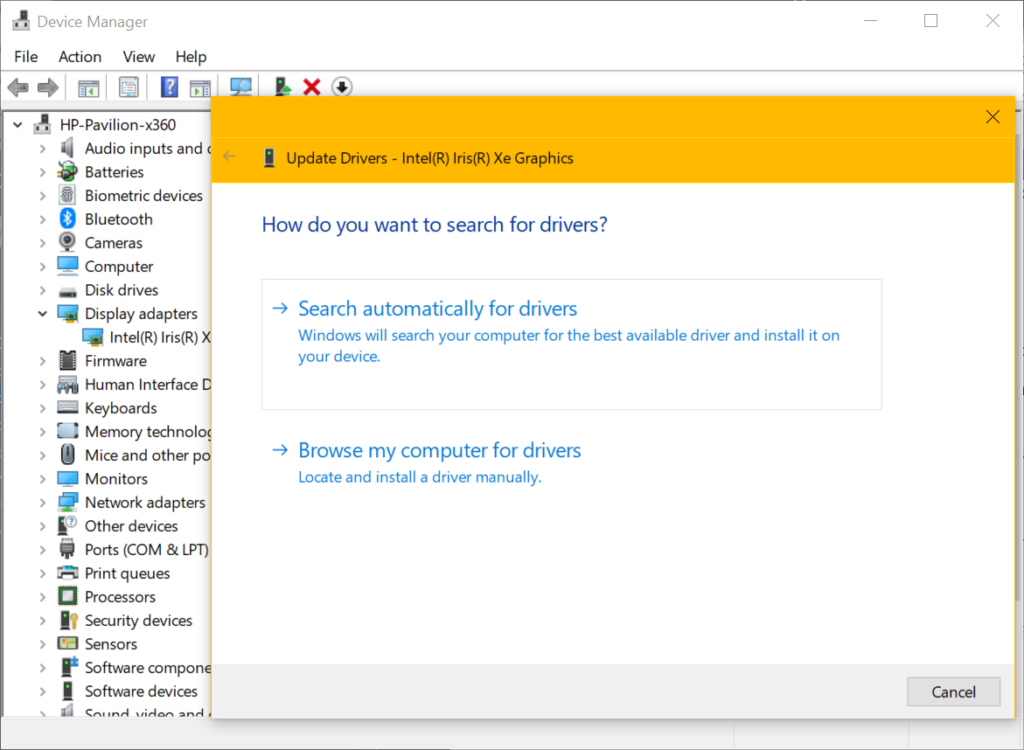
Step 4. Expand the device driver and Right-click to populate menu options.
Step 5. Click on the Update Driver option to install the latest updated device drivers. Click on the ‘Search automatically for Drivers’ option and finish the installation wizard.
“Alternatively, you can ensure that you never face any driver conflict for any of the devices. Use one of the best driver updaters for Windows 10 to automate the process.”
Advanced Driver Updater
We have tried, tested, compared, and reviewed dozens of driver updaters for Windows and listed the best one that has great advanced features.
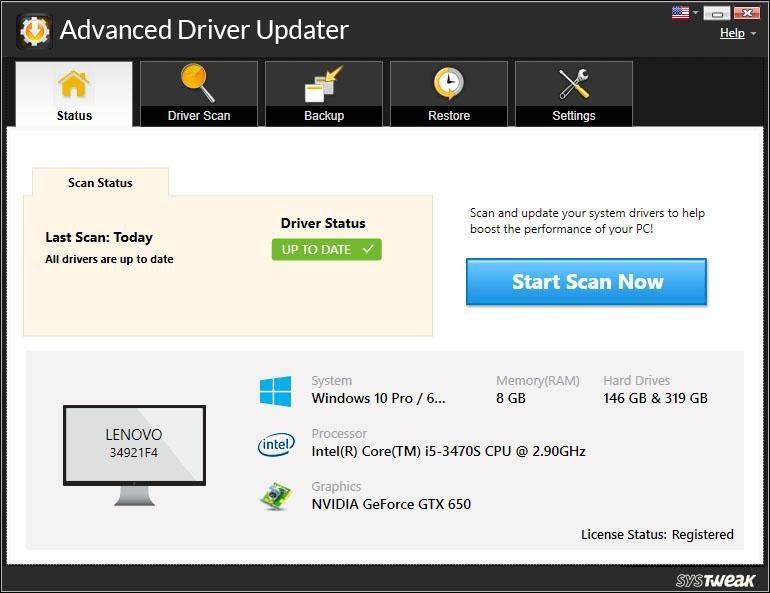
Advanced Driver Updater has great features to install the latest drivers and get the best performance out of your device. It is compatible with Windows 11/10/8.1/8/7/Vista and XP with both 32-bit and 64-bit versions. It has the best driver database that updates itself on a regular basis.
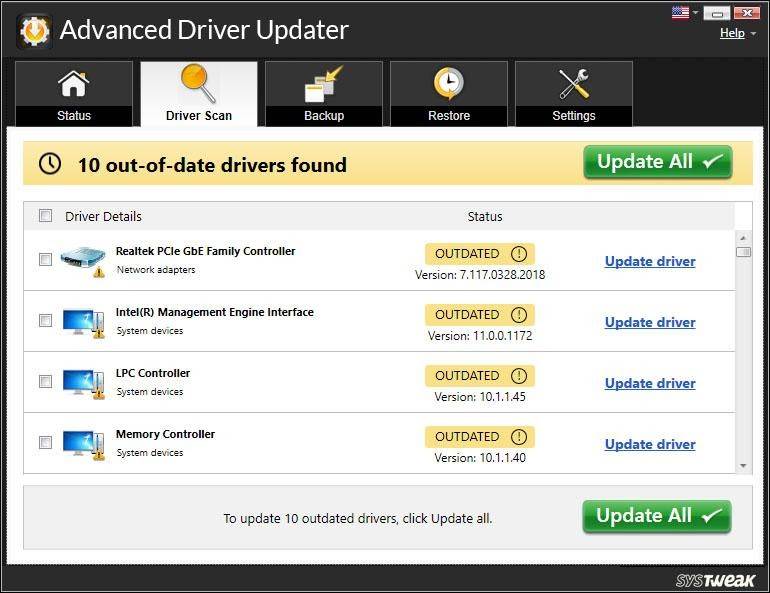
It quickly takes a backup of existing device drivers and installs the new one. If there is a driver conflict, you can roll it back to the existing drivers. There are several other inbuilt features for smooth gaming performance, optimizing drivers, making it compatible and fixing all the hardware conflicts.
Summing Up
These things to do after installing Windows 11 are important to configure on your PC to attain optimum performance. You need to personalize the settings as per your usage. Configuring the power settings, installing Windows Updates, and installing the updated device drivers can fix most of the issues. the best Driver Updater for Windows 10 and Windows 11 can ensure you never face any driver conflict.
Read more: Quick Fix: Computer Won’t Start After Windows Update