When it comes to online eCommerce business, product pictures are your hero that represents your brand. As the customers can not see and touch the product in real-time, you need to ensure the images look flawless and represent the real product.
Now, how do you make the product pictures flawless? By editing it in post-production. No matter how beautifully you have captured the image, you need to check it thoroughly to remove any imperfections. So, read our easy guide to eCommerce photo editing to perfect your product pictures.
Why Do You Need to Edit Photos for E-commerce
Here are the reasons eCommerce photo editing that will clear your understanding:
- To Keep Consistency in Your Brand. If you have noticed other brand websites, they all have the same pattern pictures that they are recognized with. So, in order to be recognized as a brand and not confuse the customers, you need to edit the pictures in a consistent manner with high-quality features.
- Increase Visual Beauty. While taking the photo, the color may not look natural, the light may reflect on the product, the shape may look different, etc which would decrease the image quality. So editing the photos will fix the shape of the product, color, contrasts, etc making it flawless.
- Boost Online Sales and Conversion Rate. It is connected with image quality. In the world of E-Commerce, the better the image quality, the more sales and conversions you will get. So, edit them flawlessly in Photoshop.
Use These Top Photo Editing Software
Use these software to make your product photos flawless. I have recommended three software because I use these most of the time however, you can also try Photo Scape X, VSCO, and Adobe Lightroom.
Adobe Photoshop
Regarding product photo editing, Adobe Photoshop is the best choice because of its ability to adjust color, graphic designs, remove backgrounds, fix lighting, and many more. It is also very easy to use.
Gimp
Gimp is similar to Photoshop but a bit hard to use because of its limitations. However, you can use it on Windows, Linux and Mac. You can reshape the photos, fix the white balance, and retouch the background/product with the healing tool. It is free software so you also practice editing with it.
Canva
Canva is a very easy-to-use online software for beginners. You can use different types of templates, tools, and other features to edit photos. You can create beautiful graphics, add drop shadows, remove backgrounds in product images, etc. However, if you want to raise your game, do not upload Canva-edited pictures to your website. The viewers will immediately understand how the images were edited. However, you can post Canva-edited images on social media platforms.
Easy Guide to eCommerce Photo Editing: 6 Ways to Perfect the Image
We have talked about the software and why you should edit photos. But what are the things you need to edit in a product image? We’ll see those now.
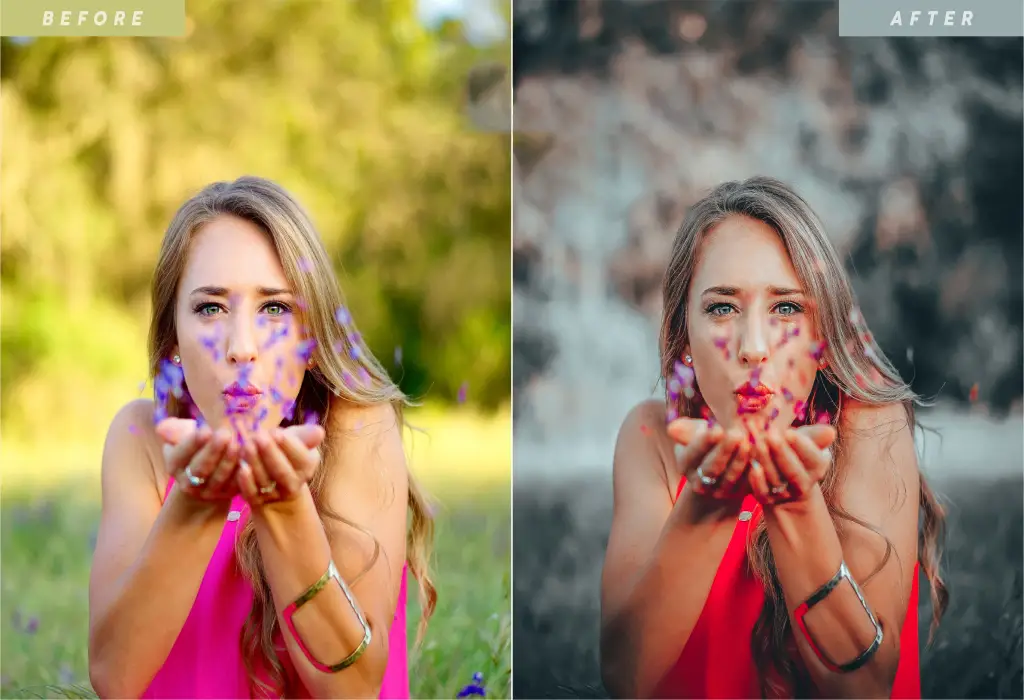
Correct Lighting & Colors
The camera settings and studio lighting/natural lighting may reflect and change the color of the picture. For example, the pink dress may appear dull or different color or too bright in the picture so you need to accurate the color. It can not look yellowish or blueish, it needs to look natural.
Often correcting the lighting, fixes the product color automatically. However, if it does not, fix it. You can easily do color correction in Photoshop tools with “Color Correction” and “Curves Adjustment”. It will make the product look natural, vibrant, and real.
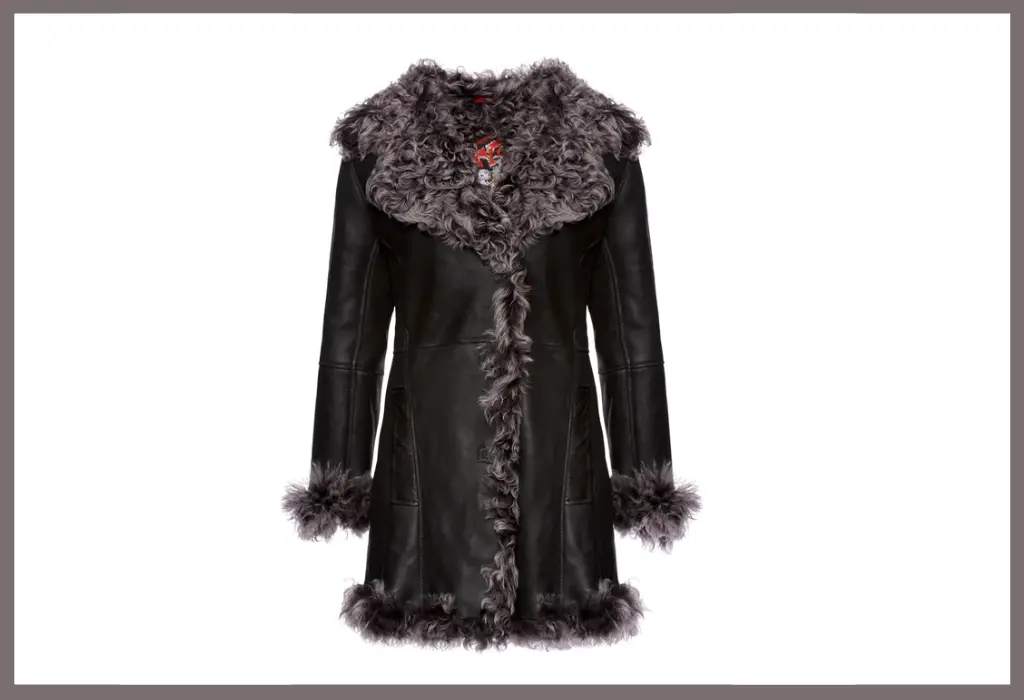
Focus on the Product by Background Removal
E-commerce businesses try to maintain simplicity in their product images. Their motto is to keep the focus on the product so often they prefer white background images.
You can remove the background in Photoshop easily to highlight the product. So, when a customer visits your online store, they will be able to focus on the product only. You can place the product in another background or just keep it transparent. Follow your client’s instructions.
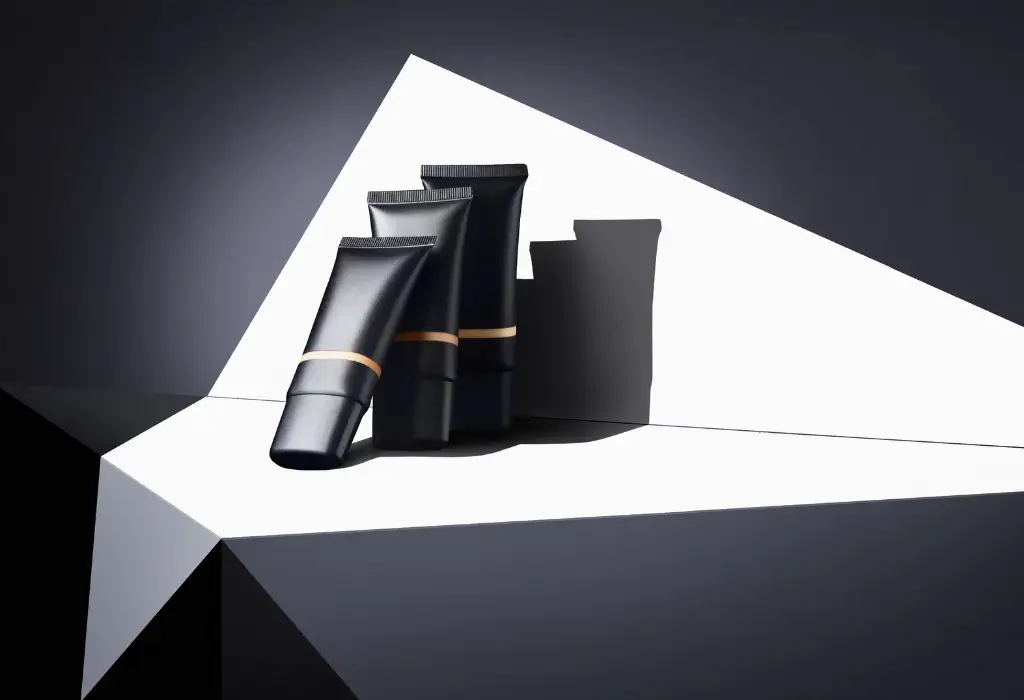
Add Shadows for Depth & Realism
Though we know it’s an image, shadows help make the image look realistic. You can add three types of shadows- natural shadows, drop shadows, and reflection shadows.
You can get natural shadows when you are photographing. If the shadows look deep, soften them and make them look natural.
Drop shadows happen when the sunlight/studio light is directly falling on the product. If you take the image from above, you may get the drop shadow effect but you can create it in Photoshop too.
Reflection shadows
look like the image is taken on a reflective surface. the shadow is the perfect replica of the product. You can use it on jewelry and other product pictures if looks good.
Resize Photos according to Social Media Format
Every social media has different image formats. So, if you do not crop images according to that, your product photos will be automatically cropped out. So, capture images in a way that you can resize later. Then Google the social media format such as Instagram, Facebook, etc, and take note. Select the image in Adobe Photoshop and increase or decrease the size with “Crop Tool’ from the Toolbar. You can resize pictures from properties too.

Remove Distractions like Props
Using relevant props is a good strategy to create variation in images, however, if they are distracting the audience from the product or the audience is unable to understand which one is the product, you need to remove the props. You can do it in Adobe Photoshop easily.
If you want to remove all props including the background, just select the product and place it in your desired canvas. However, if you want to remove one or two props, you can do it with the healing brush tool or clone stamp tool. These tools can clone colors so you just have to retouch the removed area. Retouch it till it looks natural.
Remove Mannequins to Create a 3D Effect
You can keep the mannequins in jewelry and other product pictures if it looks good. However, if you want to up your game in the world of eCommerce, edit the ghost mannequin and create a 3D effect with products.
You can edit it with the pen tool, Quick Selection Tool, and Marquee Tool from Photoshop. The final image would look like a ghost wearing the dress and the customers will be able to visualize the outlook on them.
Final Verdict
A Flawless product photo can help you stand out from the competition and boost your sales like crazy. So, do not underestimate the power of good photo editing. Edit and retouch your product images thoroughly in post-production. It needs to look flawless to make the customer stop scrolling and click on the photo for more information.
And if you do not have enough time to retouch images, hire a professional. There are many companies that will edit e-commerce images flawlessly at affordable prices. Check and negotiate with professional product image retouchers.