
It is not easy to perform backup Office 365 email PowerShell method if you do not have the right level of technical expertise to execute it.
There are only so many errors & troubles that a user might face during this procedure due to the size of the mailbox and other reasons.
The reasons why you may need to take a backup of your data could be:
- Downloading the data locally can save your data from external threats.
- The data will be kept safe from anonymous hackers who hack your account and delete a lot of data or clean up the entire mailbox.
- After learning how to backup Office 365 email, you can easily create an archive of the data to avoid any case of accidental deletion.
- If any email releases virus in your mailbox and corrupts the data, having a backup will help you access your data without internet and safely.
- Malware attacks like ransomware can also be overcome if you already have an up-to-date backup of the mailbox.
- There is also no harm in having another layer of protection over your data.
Now, we know the reasons for creating a backup. Let’s move over to the solutions for it.
What Are the Pre-Requisites for Performing Backup Office 365 Email PowerShell?
Remember that the PowerShell commands method is a difficult and technical one. You need prior technical knowledge and experience to perform this task.
There are a few pre-requisites to execute the method as listed below:
- Make sure that the user is either an eDiscovery Manager or Admin which is the default role for applying this method.
- Also, ensure that you have a remote connection with the Office 365 Security & Compliance Center.
Once these requirements are fulfilled, you can start with the procedure as explained below.
Steps to be Followed to Understand How to Backup Office 365 Email
- For this, you need to first use the New-ComplianceSearch cmdlet as given below:
New-ComplianceSearch ”your_name”-ExchangeLocation all | Start-ComplianceSearch
- After that, to export the data that the search has provided, execute this command:
New-ComplianceSearchAction “your-name” –Export –Format Fxstream
- Wait for the process to complete and then, run the Get-ComplianceSearchAction cmdlet to get the URL that you need to download this data.
Get-ComplianceSearchAction “your_name_export” –IncludeCredential | FL
- There are two parts of the information that can be used to download the end file i.e. the Container URL & the SAS token. This will help you backup Office 365 email PowerShell method.
- Make sure you have Exchange Server 2010 installed which has Service Pack 1. Use the following command to export the data:
New-MailboxExportRequest-mailbox user1filepath\\myserver\documentsfolder\name.pst
- You cannot use the direct path for your files while using this method. Also, check the user permission using the Exchange Admin.
Note: If you have any folder that needs to be included, use the -includefolder cmdlet, for excluding any folder, use the –excludefolder cmdlet.
New-MailboxExportRequest –Mailbox “name” –Filepath “\\location”-IncludeFolder “#SentItems#”
New-MailboxExportRequest –Mailbox “name” –Filepath “\\location”-ExcludeFolder “#Drafts#”
- You can also understand how to backup Office 365 email using the given command for a selected period of time.
New-MailboxExportRequest –ContentFilter {(Received –It ‘05/05/2020’) –and (Received –gt ‘05/05/2019’)} –Mailbox ‘Name’ –Filepath \\SRV01\PSTFiles\Name.pst
Limitations of the Method Explained Above
- This procedure is clearly a very complicated method.
- There is a dire need of high technical expertise to execute these commands.
- One mistake can lead to corruption or data-loss issues.
- You need to make sure that the procedure is performed carefully and under expert assistance.
- Novice users cannot perform this operation.
Alternative of Backup Office 365 Email PowerShell Method
Download the Office 365 Backup Tool for saving offline copies of the data from your mailbox locally. It is easy to understand the working of this tool due to the user-friendly interface of the software.
You can apply the features of the software like Date-filter for selective data transfer by setting a specific time-zone.
There is freedom to export the data on the desired destination location on the local device. Migrate the data from all the categories, if required, in a single shot.
Implement the Given Points to Learn How to Backup Office 365 Email
- Install the software and click on the Activate button on the bottom-left corner of the window. Choose the Setup tab and select the Source and Destination as Office 365 & Outlook respectively.
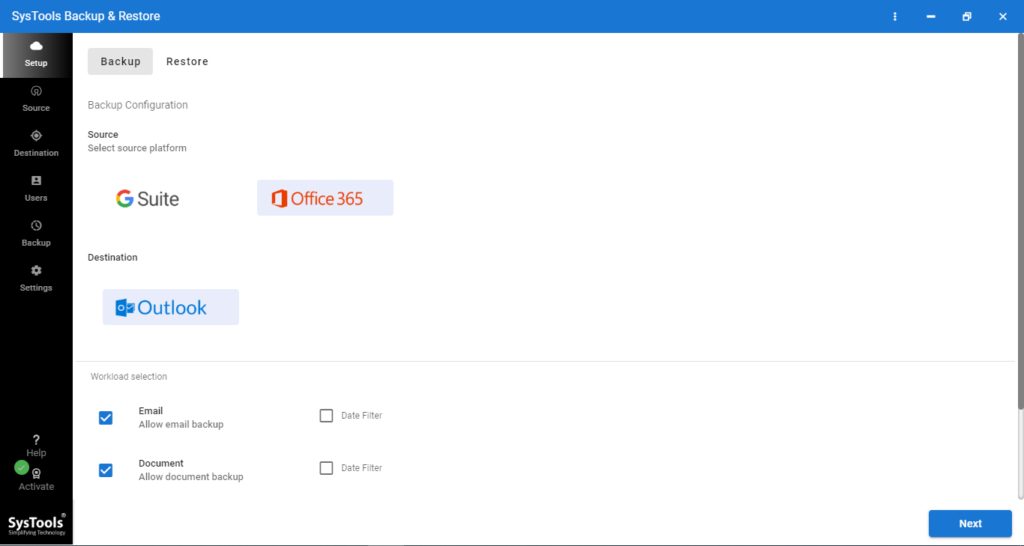
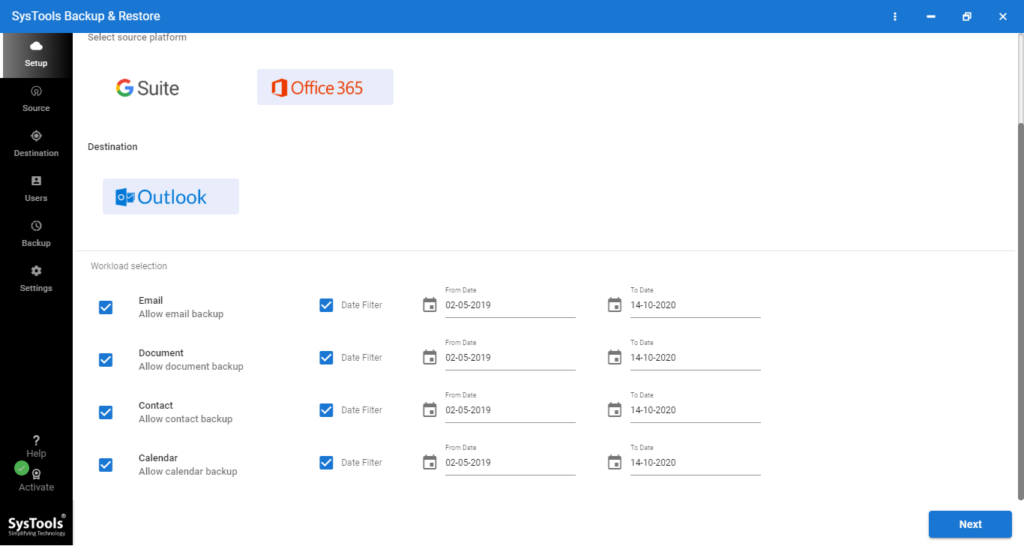
- Scroll to Workload Selection section and mark the Mail Category. Also mark the Date-Filter option and set the dates “from” and “to” for selective data backup.
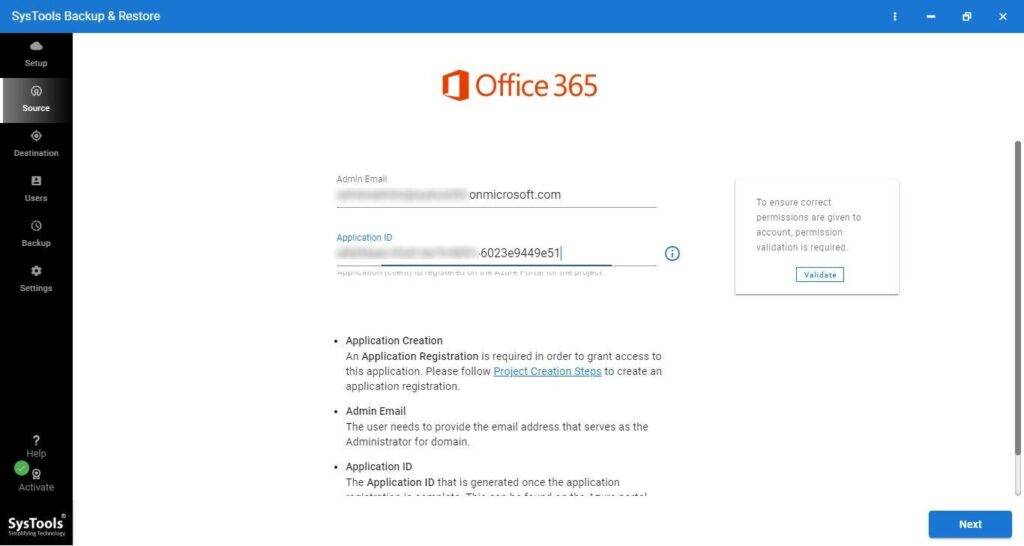
- Provide the Admin Credentials for Office 365 account and click on the Validate button to assign the permissions. Press the Next button.
- In the alternative method of backup Office 365 email PowerShell, you can choose the destination and the size of the output file. Press the Validate option for permissions and hit Next.

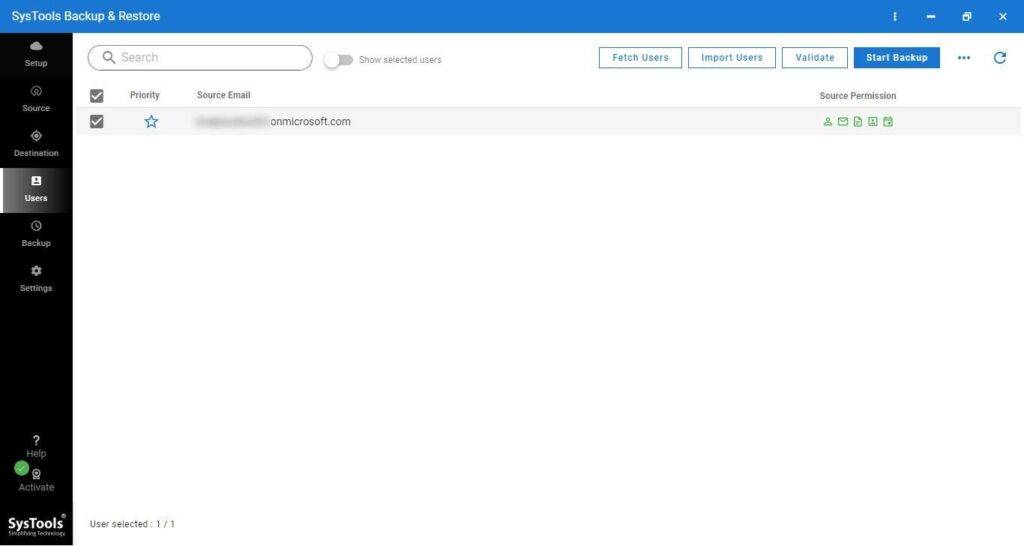
- Insert the user IDs in the software using the Fetch Users or Import Users option.
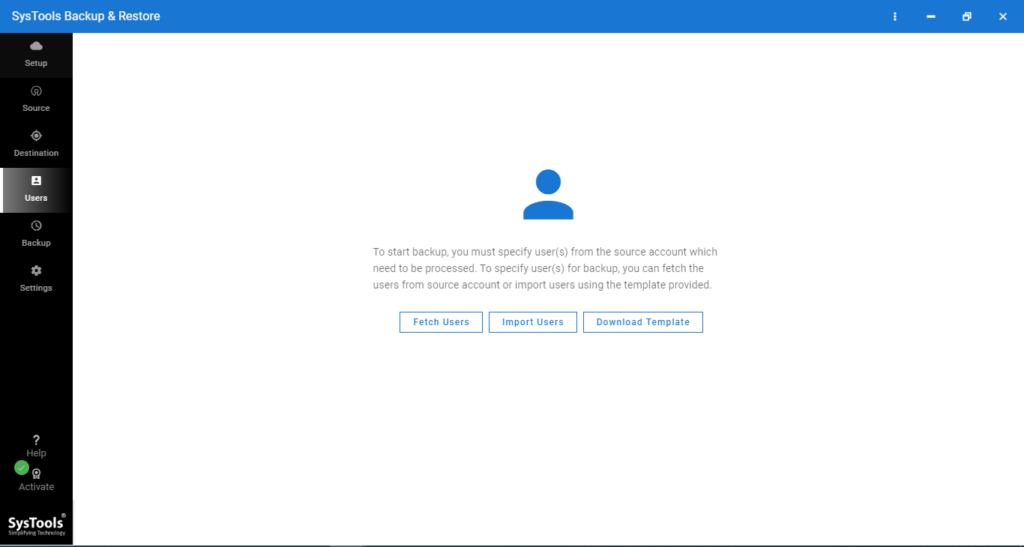
- Hit Start Backup to initiate the procedure.
Use the Delta Backup feature if there is a need to export new data from your mailbox after the first procedure.
This feature will scan your mailbox again and fetch the newly arrived emails only. It avoids creation of duplicate content.
Wrap Up
The backup Office 365 email PowerShell method is a difficult procedure to perform since there is a lot of complexity involved. If you want a simple and less-complicated method, you can use the software explained above.
The software will help you to export your data to local storage without having to go through any difficult steps even for novice users.
Read also: How to save Office 365 Emails to Desktop