A brand-new Windows 10 PC gives an awesome performance until we install a lot of software/apps or fill it with a lot of data. These applications can take up a lot of system resources and result in Windows 10 slow boot issues. Every device requires maintenance and regular optimization and so does the Windows PC. Gradually, your PC may take a lot of time to boot or take time in processing your requests.
There are several methods of optimization and PC Tuneup that you can perform to keep it as good as new. A lot of manual methods may be time taking and tiresome yet can’t deliver promising results however if your system is really in a bad shape, you can always make use of one of the best PC optimization tools.
If your PC has an outdated or corrupt driver, you may still face challenges with the PC performance. Manually updating the drivers can be a little tricky as we can’t find the right drivers for every device that is not compatible with our version of the Windows operating system. For such instances, you can make use of the Best Driver Updater software and keep your PC up to date. Here are a few quick tips that you can start with to fix Windows 10 slow boot issue.
Disable Startup Items
Whenever we install any program or application, it automatically adds up in the Startup Items. It is essential to review your Startup Items at a regular interval to ensure that unwanted programs are not loading every time we boot the PC.
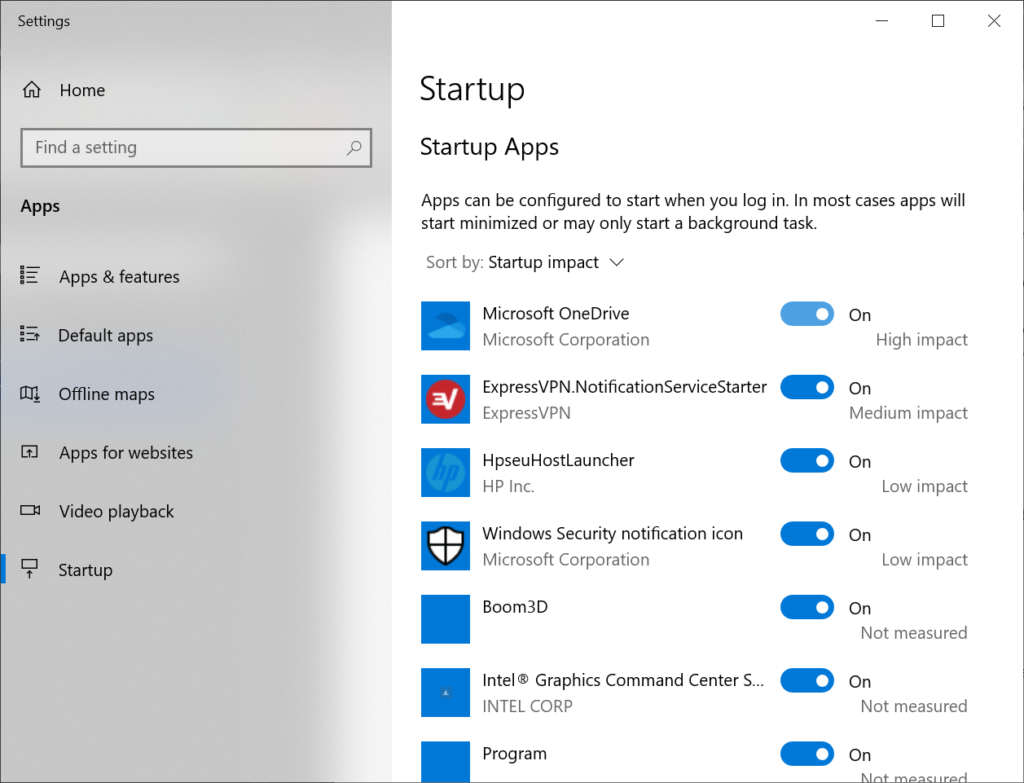
Step 1. Click on the Start button and type Startup in the search bar.
Step 2. Click on the Startup Apps under (System Settings) to list out all the apps.

Step 3. You can sort apps by Name, Startup Impact, or Status to list out apps that are hampering your boot performance.
Step 4. Toggle ON or OFF the program that you believe should not load during the startup. Close the settings window once done.
You can also use the Task Manager to disable the Startup Items.
Step 1. Press (Ctrl + Shift + Esc) to open the Task Manager window. You can also right-click on the Task Bar and click on the Task Manager option.

Step 2. Click on the Startup tab on the top to list out all the applications that load during the startup.
Step 3. Click on the column to sort the programs by Name, Status, or Startup Impact.
Step 4. Select the application that you don’t want to load during the startup and click on the Disable button at the bottom of the window.
Disable Fast Startup
As the name suggest Fast Startup is designed to load the computer faster with a few pre-loaded background apps and programs but it also hampers your boot performance if there are a lot of applications installed on the computer. It is turned ON by default in the Windows operating system however you can always disable it to see the difference.
Step 1. Click on the Start button and type Power Options in the search bar.
Step 2. Click on the Power & Sleep Settings under the System Settings.
Step 3. It will open Power & Sleep settings window where you need to scroll down and click on the ‘Additional Power Settings’ link under the Related Settings section.
Step 4. Another window will open with Power Options. Click on the ‘Choose What the Power Button Does’ link in the left-hand side panel.
Step 5. Click on the ‘Change settings that are currently unavailable’ link with a small security shield icon on the top.
Step 6. This link will enable you to Check or Uncheck the Fast Startup option.
Step 7. Uncheck ‘Turn ON Fast Startup’ and save changes. Restart the computer and see the difference.
Run SFC /Scannow Command
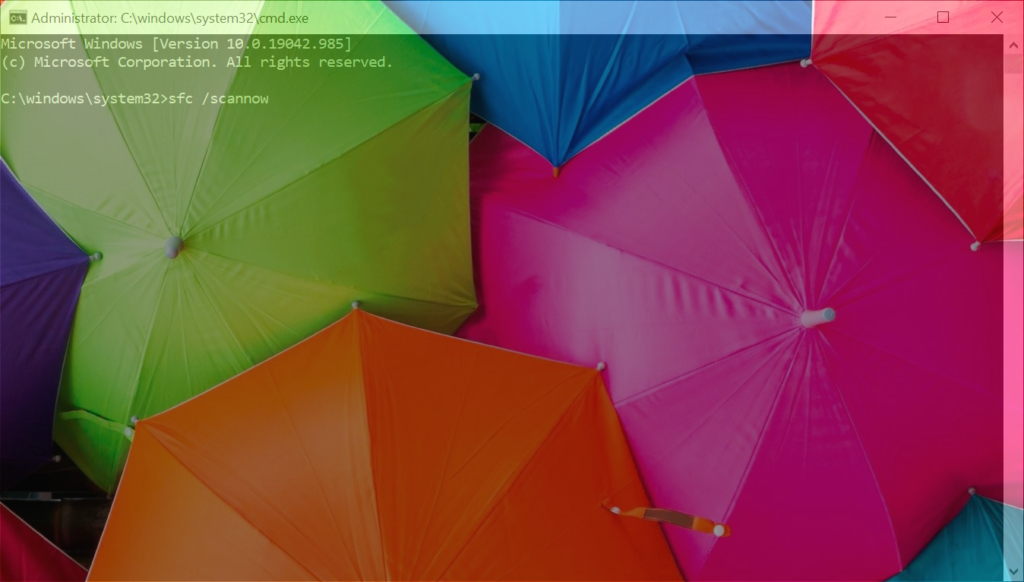
SFC /scannow is a Windows utility to find and fix windows errors on the hard drive. This command is performed in the Command prompt environment with administrative rights.
Step 1. Open the Run Command Window by pressing (Win + R).
Step 2. Type CMD and press (Ctrl + Shift + Enter) to select run as administrator.
Step 3. If Windows prompt for confirmation, click on the Yes button.

Step 4. Type sfc /scannow and hit the Enter key.
Step 5. This process will take around 15-20 minutes to finish. Restart the computer once you see the blinking cursor on the command prompt window.
Update Outdated Drivers
If your computer is running with outdated drivers, you may face performance issues or Windows 10 slow boot issue. The manual process of updating drivers may not assure promising results hence it is advisable to make use of the best driver updater.
Smart Driver Care
Smart Driver Care is one of the most efficient tools to update drivers and keep your system up to date. There are device drivers that are not listed in Windows Update Library and hence you may face issues with a lot of devices and their drivers.
It performs a one-click scan to quickly identify outdated, corrupt or missing drivers and downloads them on the system. Smart Driver Care has a large pool of listed devices and drivers and keeps its library up to date. It performs a backup before replacing the existing drivers to secure you from accidental issues.
Smart Driver Care Features
- Quick scan and Deep scan engine for accuracy and comfort
- Support devices that are not listed in the Microsoft Windows library
- Reduce device errors and common hardware system performance issues

- Works silently in the background without using much of system resources
- Fix all driver-related issues and errors that need immediate attention
- Compatible with Windows 10 and earlier version of Windows
Summing Up
There can be several other manual steps that can fix Windows 10 slow boot issue however every regular user can’t perform all these steps. You can make use of the best PC optimization software to clean up and perform PC Optimization on your Windows. The Best Driver Updater software is also necessary to keep all the drivers including the Graphics Driver updated and error-free. Happy Computing!
Also read about: Fixed Keyboard Not Working On Windows 10


