In this era of work from home or online education, screen recording is a basic requirement these days. We come across several scenarios when we wish to record the screen to remember key points of a presentation, meeting, conference call, or a webinar. There are users who wish to create presentations with their own webcam feed and voice input. The best screen recorder can help you to record the screen for windows 10 or 11 and create intuitive videos, training sessions and more.
Windows operating system also offers a few inbuilt utilities that can help you screen record your activity however there are no editing options. You can only record the screen but can’t customize or personalize your videos. Here you need the best screen recorder for Windows 10 or 11.
Best Screen Recorder Software
Just regular screen recording is not enough for professional use. If you wish to add filters, special effects, and watermarks, and make use of other editing features, you will need the best screen recorder for your PC. Not all screen recorders are equipped with all the best features for advanced editing. We have tried, tested the best screen recorders, and came up with the best screen recorder software.
TweakShot Screen Recorder:
Platform: Windows OS
Processor: Intel Core i3 or above
Operating System: Windows 11 and older
Hard Disk Space: Min 2GB free space, SSD for best performance
Display: 1280×768 size or higher
Memory: Min 4 GB RAM or higher
Price: USD $39.95 / Year
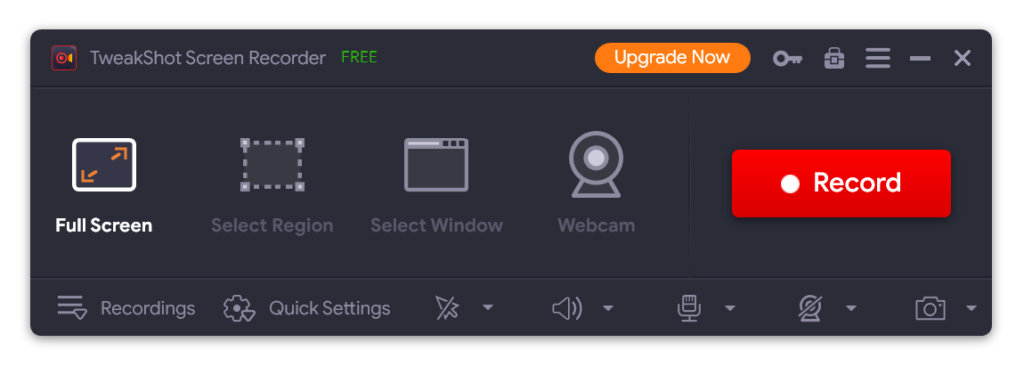
TweakShot Screen Recorder has been ranked as the best screen recorder for PC in 2022. It has great recording and editing features to capture perfect screen recordings and personalize them as per need. You can use TweakShot Screen Recorder on Windows 7 and above versions. It allows you to screen record your active screen, and gameplay, capture Windows active screen, full screen, live videos, webinars, screencast, webcam feed, live streaming, or record from OTT platforms, with Mic input.

Using the TweakShot Screen Recorder is an easy task. You can quickly download and install it on your PC. Access the app and go through the quick tutorial. Understand how to use the intuitive features of this app. Configure the app and recording settings according to your requirements. You can adjust video format, video quality, destination location, audio input, and multiple settings. Click on the Record button to initiate recording.
Here in this article, you will explore the manual methods for how you can record screen below.
Screen Record Using Windows Xbox Game Bar
Windows Xbox Game Bar is Microsoft’s inbuilt screen recording utility to record your gameplay and other screen activities. This is a free utility to record your screen, add voice, mouse clicks, or take screenshots. Before using this utility, ensure that the Game Bar is activated in Windows Settings.
Step 1. Press the Window key and go to Settings.
Step 2. Select the Gaming tab from the left panel and go to the Xbox Game Bar option.
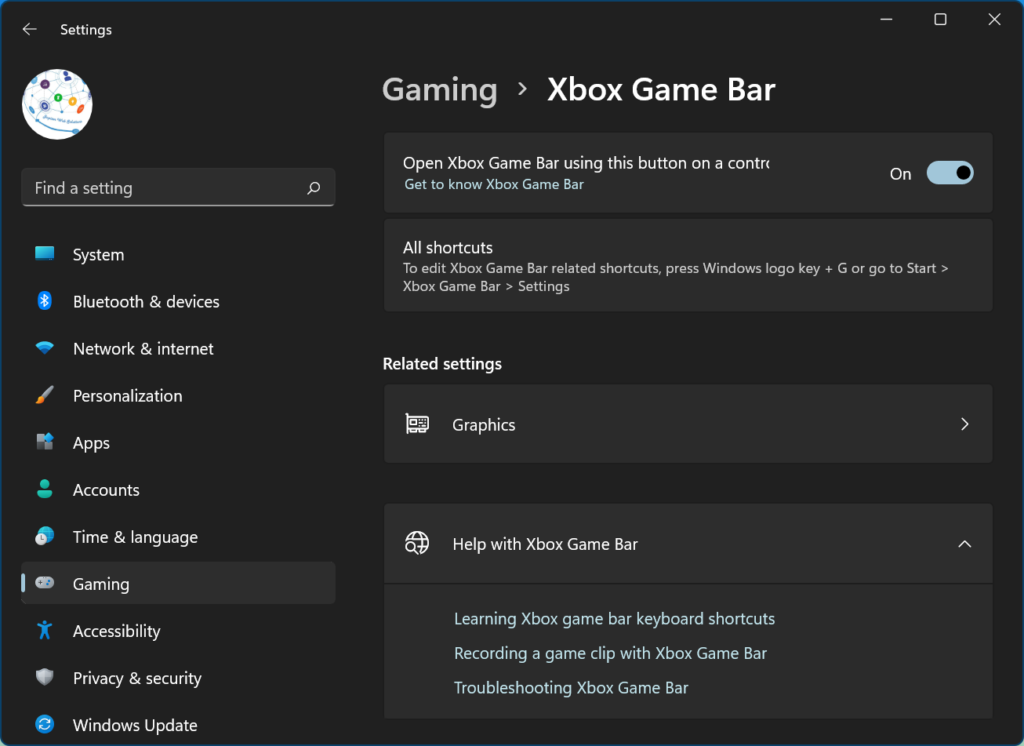
Step 3. Toggle ON the ‘Open Xbox Game Bar Using This Button’ option.
Step 4. Bring up the screen you wish to record and press Win + G to access the Game Bar on your Windows.
Step 5. Check out the Capture section on the top left and explore options like Screenshot, Record last 30 seconds, Start Recording, and add Mic options.
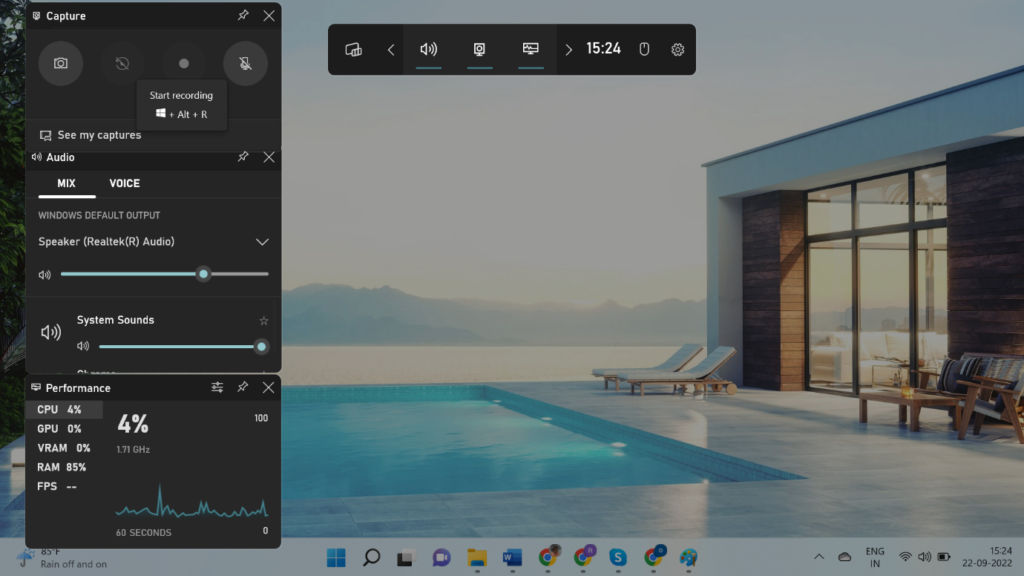
Step 6. Click on the Start Recording option and then click to add Mic if you wish to add your voice. You will find pause or stop recording options on the top to finish recording once done. The recorded screen video will be available in the Videos library.
Step 7. You can preview the video in the Game Bar or edit captions before you share it with someone.
MS PowerPoint Screen Recording Option
All the latest versions of MS office have upgraded PowerPoint utility. Earlier there were options to add slides, images, and objects to your presentation however now it allows you to screen record your activity and add it to your presentations. You can also save the recorded video and share it with others.
Step 1. Access the PowerPoint app from the MS Office folder and start a blank presentation.
Step 2. Go to the Insert menu and from the Media section on the top ribbon, click on the Screen Recording option.

Step 3. A small toolbar will open with a few controls. Click on the Select Area option and drag to select the area you wish to record. Access the screen that you wish to record.
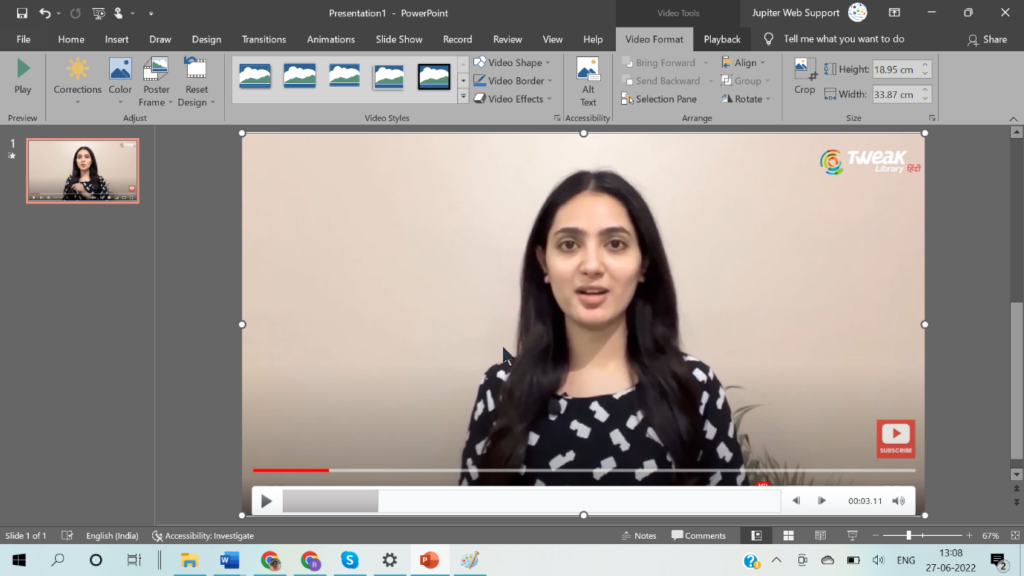
Step 4. You can select a portion of the screen or drag it completely to select the full screen to record.
Step 5. Click on the Record button to initiate recording. You can click to add Audio or Record Pointer whenever you need. Once done, click on the Stop recording button to stop and add the recording to your presentation.
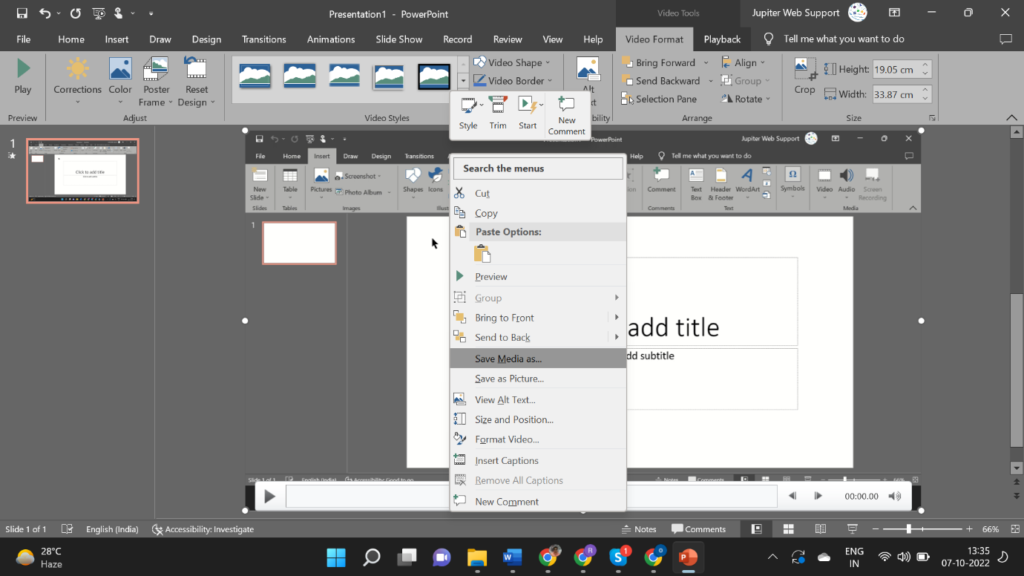
Step 6. Right-click on the recorded video and click on the ‘Save Media As’ option to save the video on your computer.
Final Words
Screen recording is an everyday exercise for professionals and gamers. You can use inbuilt recording features or make use of the best screen recorder software for Windows. TweakShot Screen Recorder is one of the best screen recorders for Windows 10, 11 or earlier versions. You can capture screen recording and use the editor to customize and personalize the videos to their best.


