
Last Updated on July 8, 2024 by Team Experts
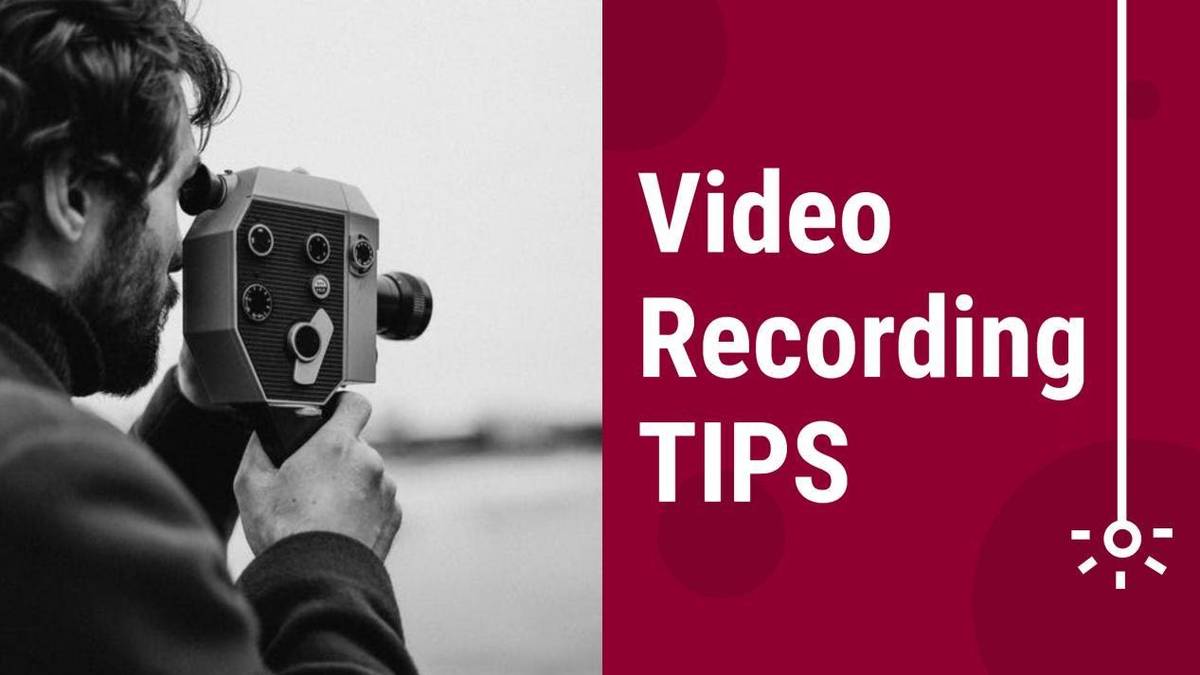
Today we will share with you 7 tips to record videos like a professional. This is how we do it every week, and now we share it with you:
1. Planning
Before saying “lights, camera and action!” you have to plan what you will do. By organizing yourself well in advance, you will make recording and editing easier. We recommend that you take a pencil and paper and start writing down what topics, what key ideas, what visual resources you will need, what experts you will cite or interview. The important thing is that before you start recording, you have a draft of what you will do. It is better to prepare than to leave everything to improvisation.
2. Invest time and/or money in good equipment
As Michael taught us, a good video is made by good lighting, good audio, and good quality images. We recommend you review all the brands mentioned in the Masterclass and choose the options that best suit your needs and your budget. We also hope that apps such as Movie Pro (for iPhone) and Filmic Pro will also be useful for you, which allow you to record a video like a professional with advanced options such as image stabilization when you are not using a tripod.
3. Take care of your frames
Framing is the fragment of reality captured by a camera lens. This definition is important since to record videos like a professional. You have to try to expand your knowledge about composition.
First, as we talked about in the Masterclass, you should get used to dividing the frame into three equal parts (vertical) and three horizontal (equidistant). These lines will intersect at four points, which will serve as a reference to locate the person or main object that you are recording. If, when recording, you place yourself close to any of these four points, you will get your audience to perceive balance in the composition of your video. This is just one of the visual composition guidelines that we always use.
Try and learn more about composition in our YouTube mini-series to record better videos.
4. Take care of the plans
As Wikipedia clarifies, in audiovisual language, the shot is the visual, physical perspective of the characters, objects, and elements as captured by the observer from a given place. When you keep the point of view of your audience fixed (you do not make camera movements) and the distance from which the recorded people or objects are contemplated does not vary, you speak of the same shot.
Michael explained it very well: It is advisable to avoid taking long shots. It is better to change your plane and point of view to accentuate the message and give your video rhythm.
Record resources with different plane sizes and angles: General planes. Medium shots and close-ups (detail shot). By recording in that order, you will gradually draw attention to what is most important. In turn, you will have extra audiovisual material that will allow you to be more creative when editing.
4. Stabilize your shot
The shaking in a recording conveys that there is a lack of professionalism. Using a tripod or an app or camera with a stabilization function is essential for professional shots and smooth panning.
5. Get ready
Before recording, review the following checklist:
Camera with cables and battery.
Charge the main battery and a replacement battery
Bring the tripod
Also, keep the charger for the batteries. In case the recording takes longer than expected.
Tripod or some accessory for your camera
Save all lighting (check that your portable LED lights are charged)
Memory cards, with enough space to record extra material
Microphone and its batteries and cables
6. Edit is NECESSARY
Professional videos always need an editing stage. Even if you are only recording yourself with your mobile, you must include your logo at the beginning and end of the video or as a fly *.
* Fly is the term used in audiovisual language to refer to the logo that appears in a corner, on the left or right side, above or below the video.
Many people like to start their videos with an entrance mask or curtain (a short video clip with the name of your video or your company logo). In addition, many add a black fade at the end of the video to improve the color. Don’t forget to add background music, among many other details that you can do to make your video look professional.
7. Look for online training to improve
Nowadays, it is essential to keep up to date. To record videos like a professional, you will have to follow the pulse of new technologies at the level of equipment and applications. You should even be aware of which are the most appropriate formats to share videos on each social network. Remember when we told you about the emergence of videos on LinkedIn? Well, each social network has its size and its ideal duration for videos.
At Last
After reading 7 practical tips to record a video, do you know how to do it now? Comment below with your feedback and share this article if you like it.