
As a freelancer, all you have to do is focus on your work by providing outstanding services to satisfy your clients. But, it also depends on the environment in which you are working all day long.
Yes! If your workspace isn’t providing you with enough comfort there is a possibility to lose your clientele.
An optimal workspace not only improves your productivity but also helps you figure out your short-term and long-term goals, avoid certain physical and psychological disorders, and ultimately achieve goals faster than you thought possible.
Being a freelancer, I would love to share my experience with creating a comfy surrounding workplace to keep you focused, productive, fresh, and healthy.
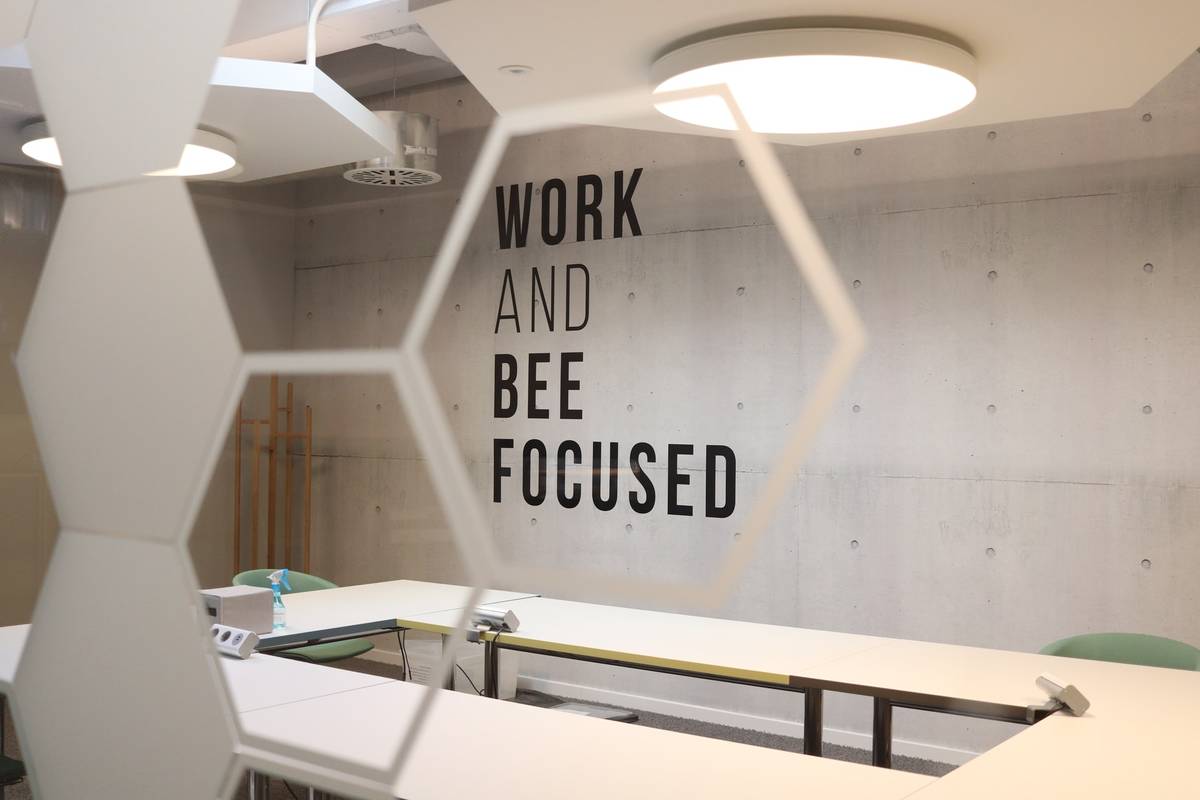
5 Tips for Remote Workers to Create A Comfortable Workspace
I think freelancing is a dream come true. It allows you to work your hours, be your boss, and take responsibility for your success. Freelancing full-time sounds excellent, but you can also need a comfortable workspace to work from home.
Here are the tips to make your home office comfortable and boost your productivity.
A Comfortable Chair
A comfortable ergonomic chair will be beneficial to anyone who spends most of their day sitting.
These chairs will help you sit comfortably and prevent back pain. A chair merely keeps the body aligned correctly, preventing the shoulders from slumping or the head from leaning forward.
With an ergonomic chair, you’ll notice your body feels much better after sitting for some time. Your productivity can increase when you are less distracted by pain and discomfort.
Completing your Ergonomic Setup
You want your elbows to be at a 90-degree angle or perhaps a little bit wider than that so that your wrists are angled down when you’re typing because that’s going to be the most comfortable for most people.
You could also be typing with your hands about shoulder-width apart. You don’t want to be typing, you know, too close or too far; otherwise, you’re going to get strained.
When looking at your monitor or your laptop screen or whatever it is, you should be looking about two to three inches below the top of the screen. That’s like the most comfortable way to not strain your neck and not lean forward, not squint, do any of those things.
A comfortable chair is all about the right angles. So approach the chair you have like a sculpture. Add material to specific spots to bring your knees, arms, and spine where they will experience the least amount of strain. Great chairs last for years, and it’s worth it.
Use Intentional Colors
It can be beneficial to paint your home office to boost productivity. You should choose the color based on what you intend to achieve:
Blue
The blue color is considered one of the best colors for productivity, regardless of your profession. It promotes calm feelings, clear thinking, peace, and focus.
Red
The red color increases your heart rate and makes time seem to speed up. This is perfect for physical jobs that require high energy levels.
Green
It is soothing and promotes calmness, making it ideal for highly stressful jobs.
Yellow
The yellow color generates positive emotional responses. Despite not being encouraged in offices, yellow is perfect for helping creative fields develop new ideas. You can paint break areas or meeting rooms yellow to get creative ideas flowing.
Minimize Noise
A study by Cornell University found that lowering the noise around you while working:
- Increase your productivity
- Lower your stress
- Boost task motivation
Tools like noise-canceling headphones and earplugs can help reduce the noise that other people are making around you.
I would like to listen to music when working, so I am not constantly bothered by my neighbors. In addition, 71% of the surveyed people believe listening to music boosts their productivity.
Schedule in Productivity Breaks
Your brain (and eyes) deserve a well-deserved break throughout the day. Plan short breaks throughout the workday to give them a well-deserved rest before getting back to work!
You can refocus and be more productive throughout the day by taking strategic breaks from work.
I suggest that you try The Pomodoro Technique, a simple and effective method that increases focus, overcomes distractions, and allows you to get things done in short bursts while taking frequent breaks to breathe and relax.
Desk
Here’s your desk. It includes chairs, monitors, keyboards, mice, phones, and plants. However, your desk isn’t designed to meet your needs.
It is painful to spend eight hours a day reaching, slouching, or craning.
So, I’m here to tell you how to set up your desk ergonomically so that you can avoid pain later on in life.
Step1: Adjust Your Chair
Desks have an average height of 29 to 30 inches. Some people may find this height too tall or too short. That’s where your chair comes in. The first you want to do is adjust the size.
You should bend your elbows to 90 degrees when you do this. If a person’s feet don’t touch the ground, this could become a problem, so I’m getting her a footstool. A ream of paper can be used as a footrest if there is no footrest available.
Step 2: Adjust Your Monitor
To relieve eye strain, you should place the monitor at about arm’s length so you can read comfortably without having to bend forward or adjust your posture.
You want to raise the monitor so that the top of the screen is at eye level. If your monitor isn’t adjustable in height, use your reams of paper much better.
Consider how you use two monitors when you work from them. It is preferable to have your primary monitor right in front of you. As long as you use both monitors equally, try to place yourself in the middle of the two.
A kickstand will raise your laptop’s screen to the correct height if you have one. With an external keyboard and mouse attached, you can use them on your laptop.
Step 3: Mind Your Mouse And Keyboard
You should place your keyboard where your hands are. If you have a mouse, it should be beside your keyboard.
To avoid overuse, strain, or pain, you should move from the elbow instead of your shoulder. Make sure you don’t grab the tools from your hands.
Step 4: Position Your Phone
Make sure to place the phone on the side where you won’t be writing, so you won’t have to cradle it. If you do this, you will most likely get neck pain.
If you’re on the phone most of the time, you might want to consider using a headset, so your hands can be free to type or write.
Step 5: Move And Stretch
Ten to fifteen minutes into the session, we all begin to slouch in our chairs. To avoid that, here are some chair-based exercises you can perform.
- The first exercise is a chin tuck.
- The second exercise targets your upper traps. A basic stretch involves bending your head to one side, then gently pulling to add a little more power.
- The third exercise involves retracting the scapula. You retract your shoulders backward.
- In the fourth exercise, you will work on your lower back. In this exercise, you will tilt your pelvis.
The most important thing you want to do is get up out of your chair every hour. Get up and walk, get something to eat, get something to drink, get up.
Final Thoughts
In terms of completing projects, this is just the tip of the iceberg. Almost every designer has a checklist of things to do and the processes to be followed. Have you done anything else to encourage working at home?
Whether you’re contemplating freelancing or currently practicing it, I’d like to hear what you think. Is there anything else necessary to consider when setting up a freelancing workspace?
Read more: 5 Signs You Need to Switch to a Coworking Space for Your Startup