
Nowadays, users are adopting to use MS Office 365 because it has more advanced features to overcome modern challenges. On the other hand, when we face limitations while using MS Outlook on Mac, you are highly suggested to transfer all mailbox items, such as contacts, emails, notes, calendars, and several others, to Office 365. So, you need to import OLM to Office 365. For this, you require a suitable method that helps you to upload OLM to Office 365 easily. Additionally, you can opt for the Sysinfo OLM to Office 365 Migration Tool directly.
Whenever any user does a migration process, their crucial data or folder may be lost, so they require a solution to import OLM to Office 365 on Mac. But there is no direct method for the conversion process, as I have highlighted above. You need to follow some steps that I will discuss further. Before jumping on the conversion process, I would like to mention why there is a need to import OLM to Office 365.
Need to Migrate OLM to Office 365
All of us know that Mac Outlook stores all mailbox items in OLM file format. In this section, I will highlight what are some usual reasons to import OLM file to Office 365.
- Improved productivity
- Better collaboration
- Scalable
- Better Accessibility
- ScalableBetter security and compliance
- Elimination of on-premise infrastructure costs
- Constant updates and patches
Here, you have seen that I have mentioned some reasons for your better clearance, and hope that your doubts are all cleared about choosing Office 365 over Mac Outlook. Furthermore, I will talk about the steps to do the migration process.
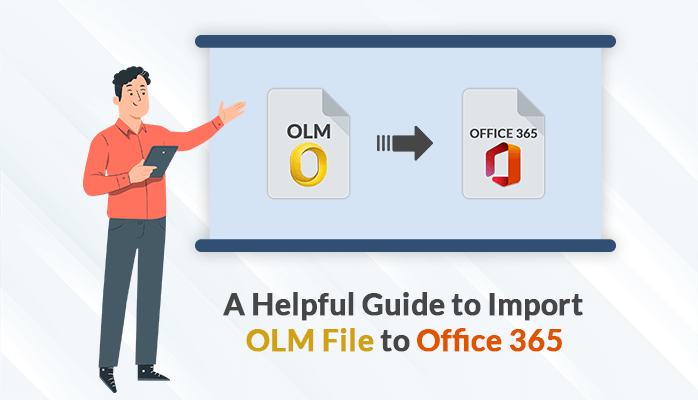
How to Import OLM to Office 365
As I have told you that there is no direct procedure to migrate OLM to Office 365. In this upcoming section, I will discuss two solutions, manual and automated.
- Upload OLM to Office 365 Mannually
- Configure your Gmail Account and Enable IMAP Settings
- Sync OLM File with your Gmail Account
- Setup Gmail Label
- Sync MS Outlook with your Gmail Account and Transfer your Gmail emails to Microsoft Outlook
- Migrate your PST files to Microsoft 365
- Reliable Solution to Import OLM to Office 365
I have given you a little bit glimpse of all the steps that I will perform them in detail in the next section.
Procedure 1: Upload OLM to Office 365 Mannually
In this section, I will perform various steps and you need to understand them.
Step 1: Configure Your Gmail Account and Enable IMAP Settings
- Log in to your Gmail account > Settings option.
- After that, move to the Forwarding and POP/IMAP > Enable IMAP option.
- In the end, click on the Save Changes option.
I have successfully configured my Gmail account and enabled IMAP Settings.
Step 2: Sync OLM File With Your Gmail Account
- Open the MS Outlook for Mac application on your local system.
- Go to Tools > Accounts.
- After that, click on the + sign for adding a new account, a Gmail IMAP account.
- Moving ahead, fill up the required information regarding the Gmail IMAP account along with credentials.
- Finally, Click on the Add Account option.
I have completed the synchronization process of the OLM file to your Gmail Account.
Step 3: Setup Gmail Label
- Open your Gmail account once again > Settings > Label.
- Then, Click on Create new option for creating a new label.
- After that, type a name with label info > OK. The label is created immediately.
I have completed the third step of setting up the Gmail Label to Import OLM to Office 365.
Step 4: Sync MS Outlook With Your Gmail Account and Transfer Your Gmail Emails to Microsoft Outlook
- Now, go to the Microsoft Outlook for Mac application.
- Moving ahead, click on Send/Receive option so that the configuration process gets started.
- Wait for a while until your entire data will be transferred.
Here, I have done the synchronization process and transferred all emails to MS Outlook.
Step 5: Migrate Your PST Files to Microsoft 365
You need to sync an IMAP account in MS Outlook by using the Account Settings feature and add a new IMAP account by filling in the ID and passwords. When you have done it, your Gmail account synced with the Microsoft Outlook application. Your complete data is available in MS Outlook, which helps you to move to the PST folders.
Therefore, I have successfully completed the manual method. While performing the manual method, you need to be very careful. If you have skipped one step, you are not able to do the migration process. To overcome all the problems, you can go with the third-party utility. In the upcoming section, I will talk about a trustworthy solution.
Procedure 2: Reliable Solution to Import OLM to Office 365
Sysinfo OLM to Office 365 Migration Tool is the software I talked about in the above section, This wizard is highly recommended by IT professionals and experts that helps users to migrate OLM files to Office 365 in a single click and without losing any crucial data. It also convert OLM to MBOX, EML, CSV and other formats. They can import OLM files along with their attachments to MS Office 365.
Conclusion
I am here to finish all the things and discussed a little bit of introduction to OLM files and O365. Furthermore, I discussed two procedures to import OLM to Office 365, manual and professional. You can opt for any of them where you feel comfortable performing them.