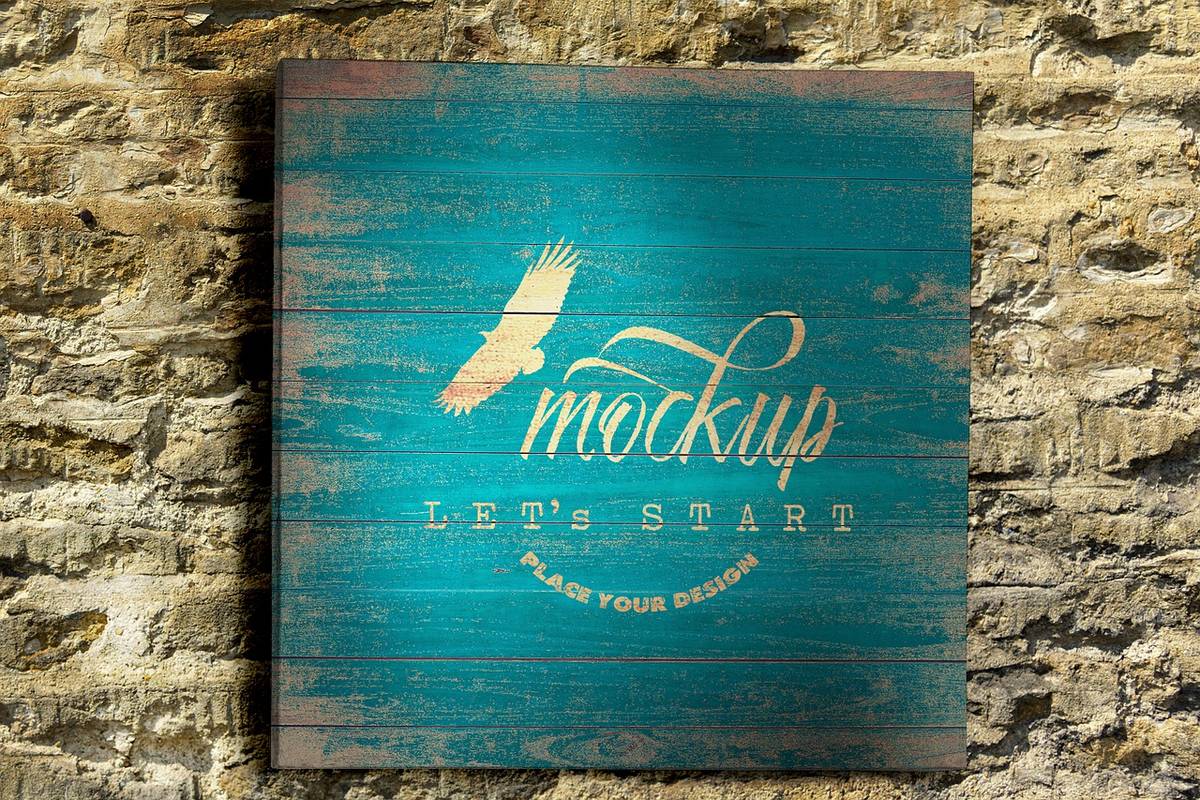
Using stencils on walls is increasingly becoming popular with people who want to do something to make their walls exclusive. However, many people are afraid of stenciling on a wooden surface. It is because wooden surfaces present a different set of challenges that you need to understand and overcome to get good results. Some pro tips:
Sand the Wooden Surface
Reclaimed wood, pallet wood, and barn wood have an uneven surface, often with cracks and prominent grain marks. While the rustic look is awesome, it can be difficult to stencil on uneven surfaces without the paint bleeding. Sanding the wooden surface can help prep the surface so that you don’t have to deal with an uneven surface when stenciling. Sanding is also a must if you are considering stenciling on a previously-painted wooden surface. The new paint will not adhere unless you remove the existing paint.
Use Clear Coat
You can apply a clear coat if you want to stencil directly without sanding raw wood or barn wood. You get two clear advantages by doing it. First, the clear coat helps to fill in the uneven surface preventing the paint from bleeding, and second, it helps to seal the wood so that even if you have some paint bleeding through, you can wipe it easily from the clear-coated surface.
Use a Spray Adhesive to Keep the Stencil in Place
Keeping the router stencils for wood in place while applying the paint can be a challenge that you must master to avoid your work from getting spoiled. You should use a good-quality spray adhesive to keep the stencil in place. The trick is to use the right adhesive, as a low-quality one will leave gunk on the surface of the stencil that you will struggle to remove. If you use the right spray adhesive, you can be sure your stencil will stick to the surface properly and you can reuse it repeatedly. Spray the underside of the stencil from a distance of 12 inches in a uniform way for best results. Place the stencil flat on the wooden surface, press the middle, and move both hands towards the ends in a smooth action to ensure it is flush with the surface.
Use Mod Podge for Hassle-Free Stenciling
Mod podge is a combination of glue, sealer, and finish that makes craft easy. While you can get it in various finishes like gloss, matte, satin, glitter, outdoor, etc., you should use a matte finish to create a solid barrier between the surface and the stencil’s edge. Since it is clear once it dries, nobody will know you have used it to prevent the paint from bleeding. You should apply a few thin layers using a light hand with a brush or use a spray to fill up the cracks that may allow the paint to seep through. According to Create and Craft, it is best to let it dry overnight.
Conclusion
If you are new to stenciling on wood, the process may seem daunting. However, while practice makes perfect, you will surely get better results by following the tips discussed above.
